Trout can be hard to come by when winter weather sets in and the water temperatures dip at your favorite local fishery. In the face of this dilemma, many anglers turn to the art of fly tying to keep their passion alive and their knowledge sharply honed. From an outsider’s perspective, fly tying can look like an archaic and complicated endeavor, but these simple tips will help guide you through the nuance and have you filling up your boxes with homespun creations in no time.
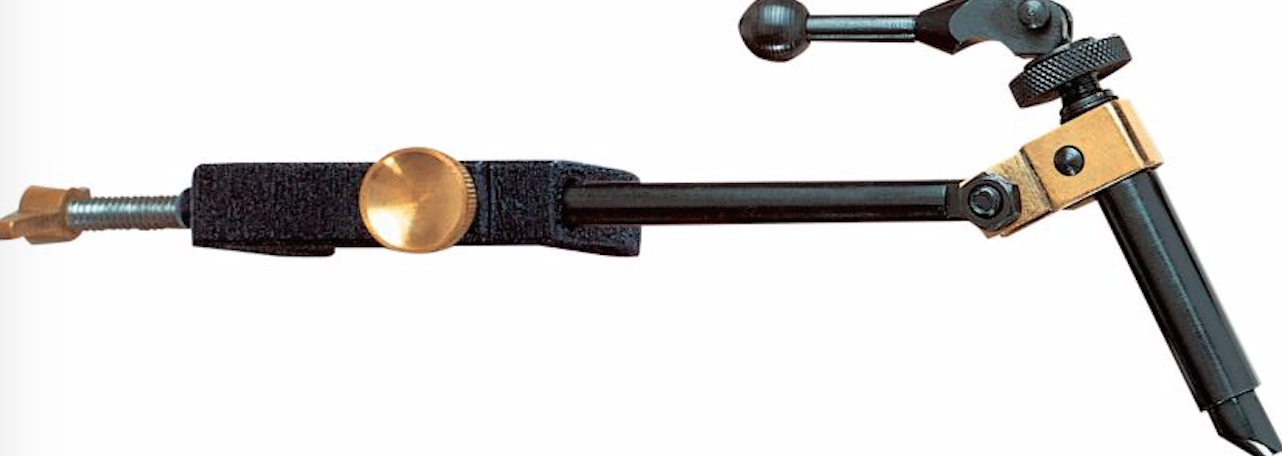
1.Get a Vise
A vise is an obvious essential for the fly tying novice, and the market is flooded with them. When just starting out, buy one on the cheaper end of the spectrum. There will be plenty of time to upgrade if you really get into it. This starter vise from Cabella’s is great for beginners.
2. Make sure you have one of each of these tying tools.
All of these tools are essential to make your dream of bypassing the fly shop, and the price tags associated with it, a reality. Make a list and head to the shop for these items before you dive in.
Bobbin
A bobbin holds your fly-tying thread in place as you’re creating the fly. This model from Loon is top of the line.
Sharp Scissors
Don’t start tying flies without a dedicated pair of small but sharp tying scissors.
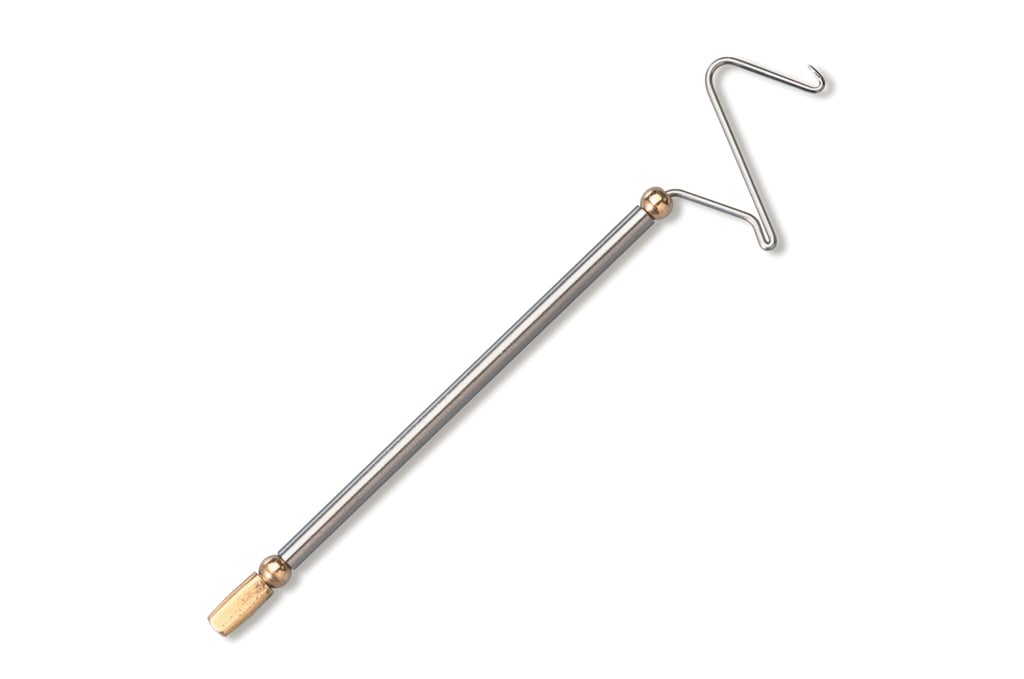
Whip Finish
This is the tool you’ll need to put the finishing touches on your fly. It allows you to tie a strong knot capable of holding the finished product in place. Reference tip number three to learn the ins and outs of using a whip finish.
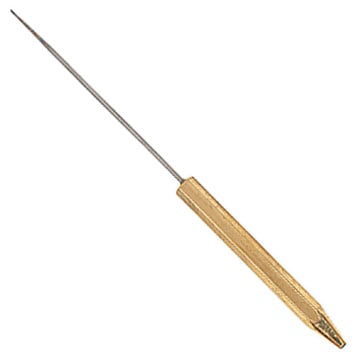
Bodkin
The bodkin is basically a needle with a small metal handle attached. It will come in handy a the end of your tie when you need to free the eye of your hook from residual glue or head cement.
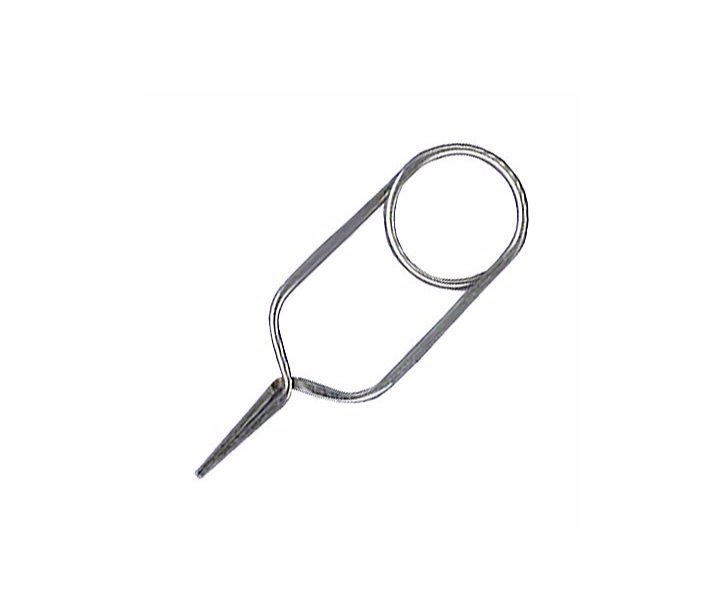
Hackle Pliers
Good for grasping material too small to get ahold of with your fingers, hackle pliers will be needed more often than not.
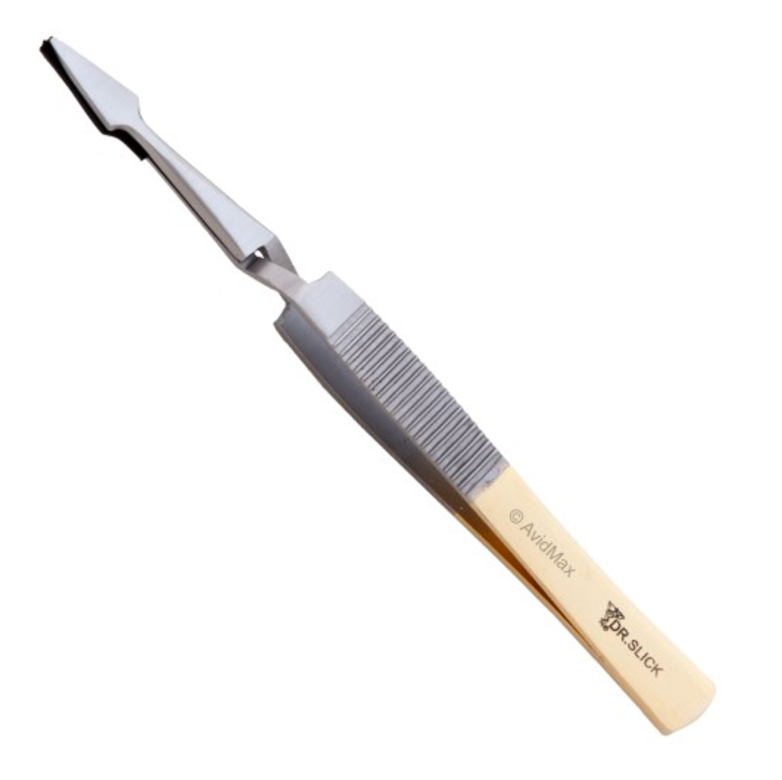
Tweezers
The need for tweezers is pretty self-explanatory. When you’re dealing with tiny parts that require extreme precision for proper assembly, a good pair of tweezers is a must.
Head Cement
Head cement is used throughout the fly tying process to secure your material to your hook. You’ll want to have a bottle before you give it a go.

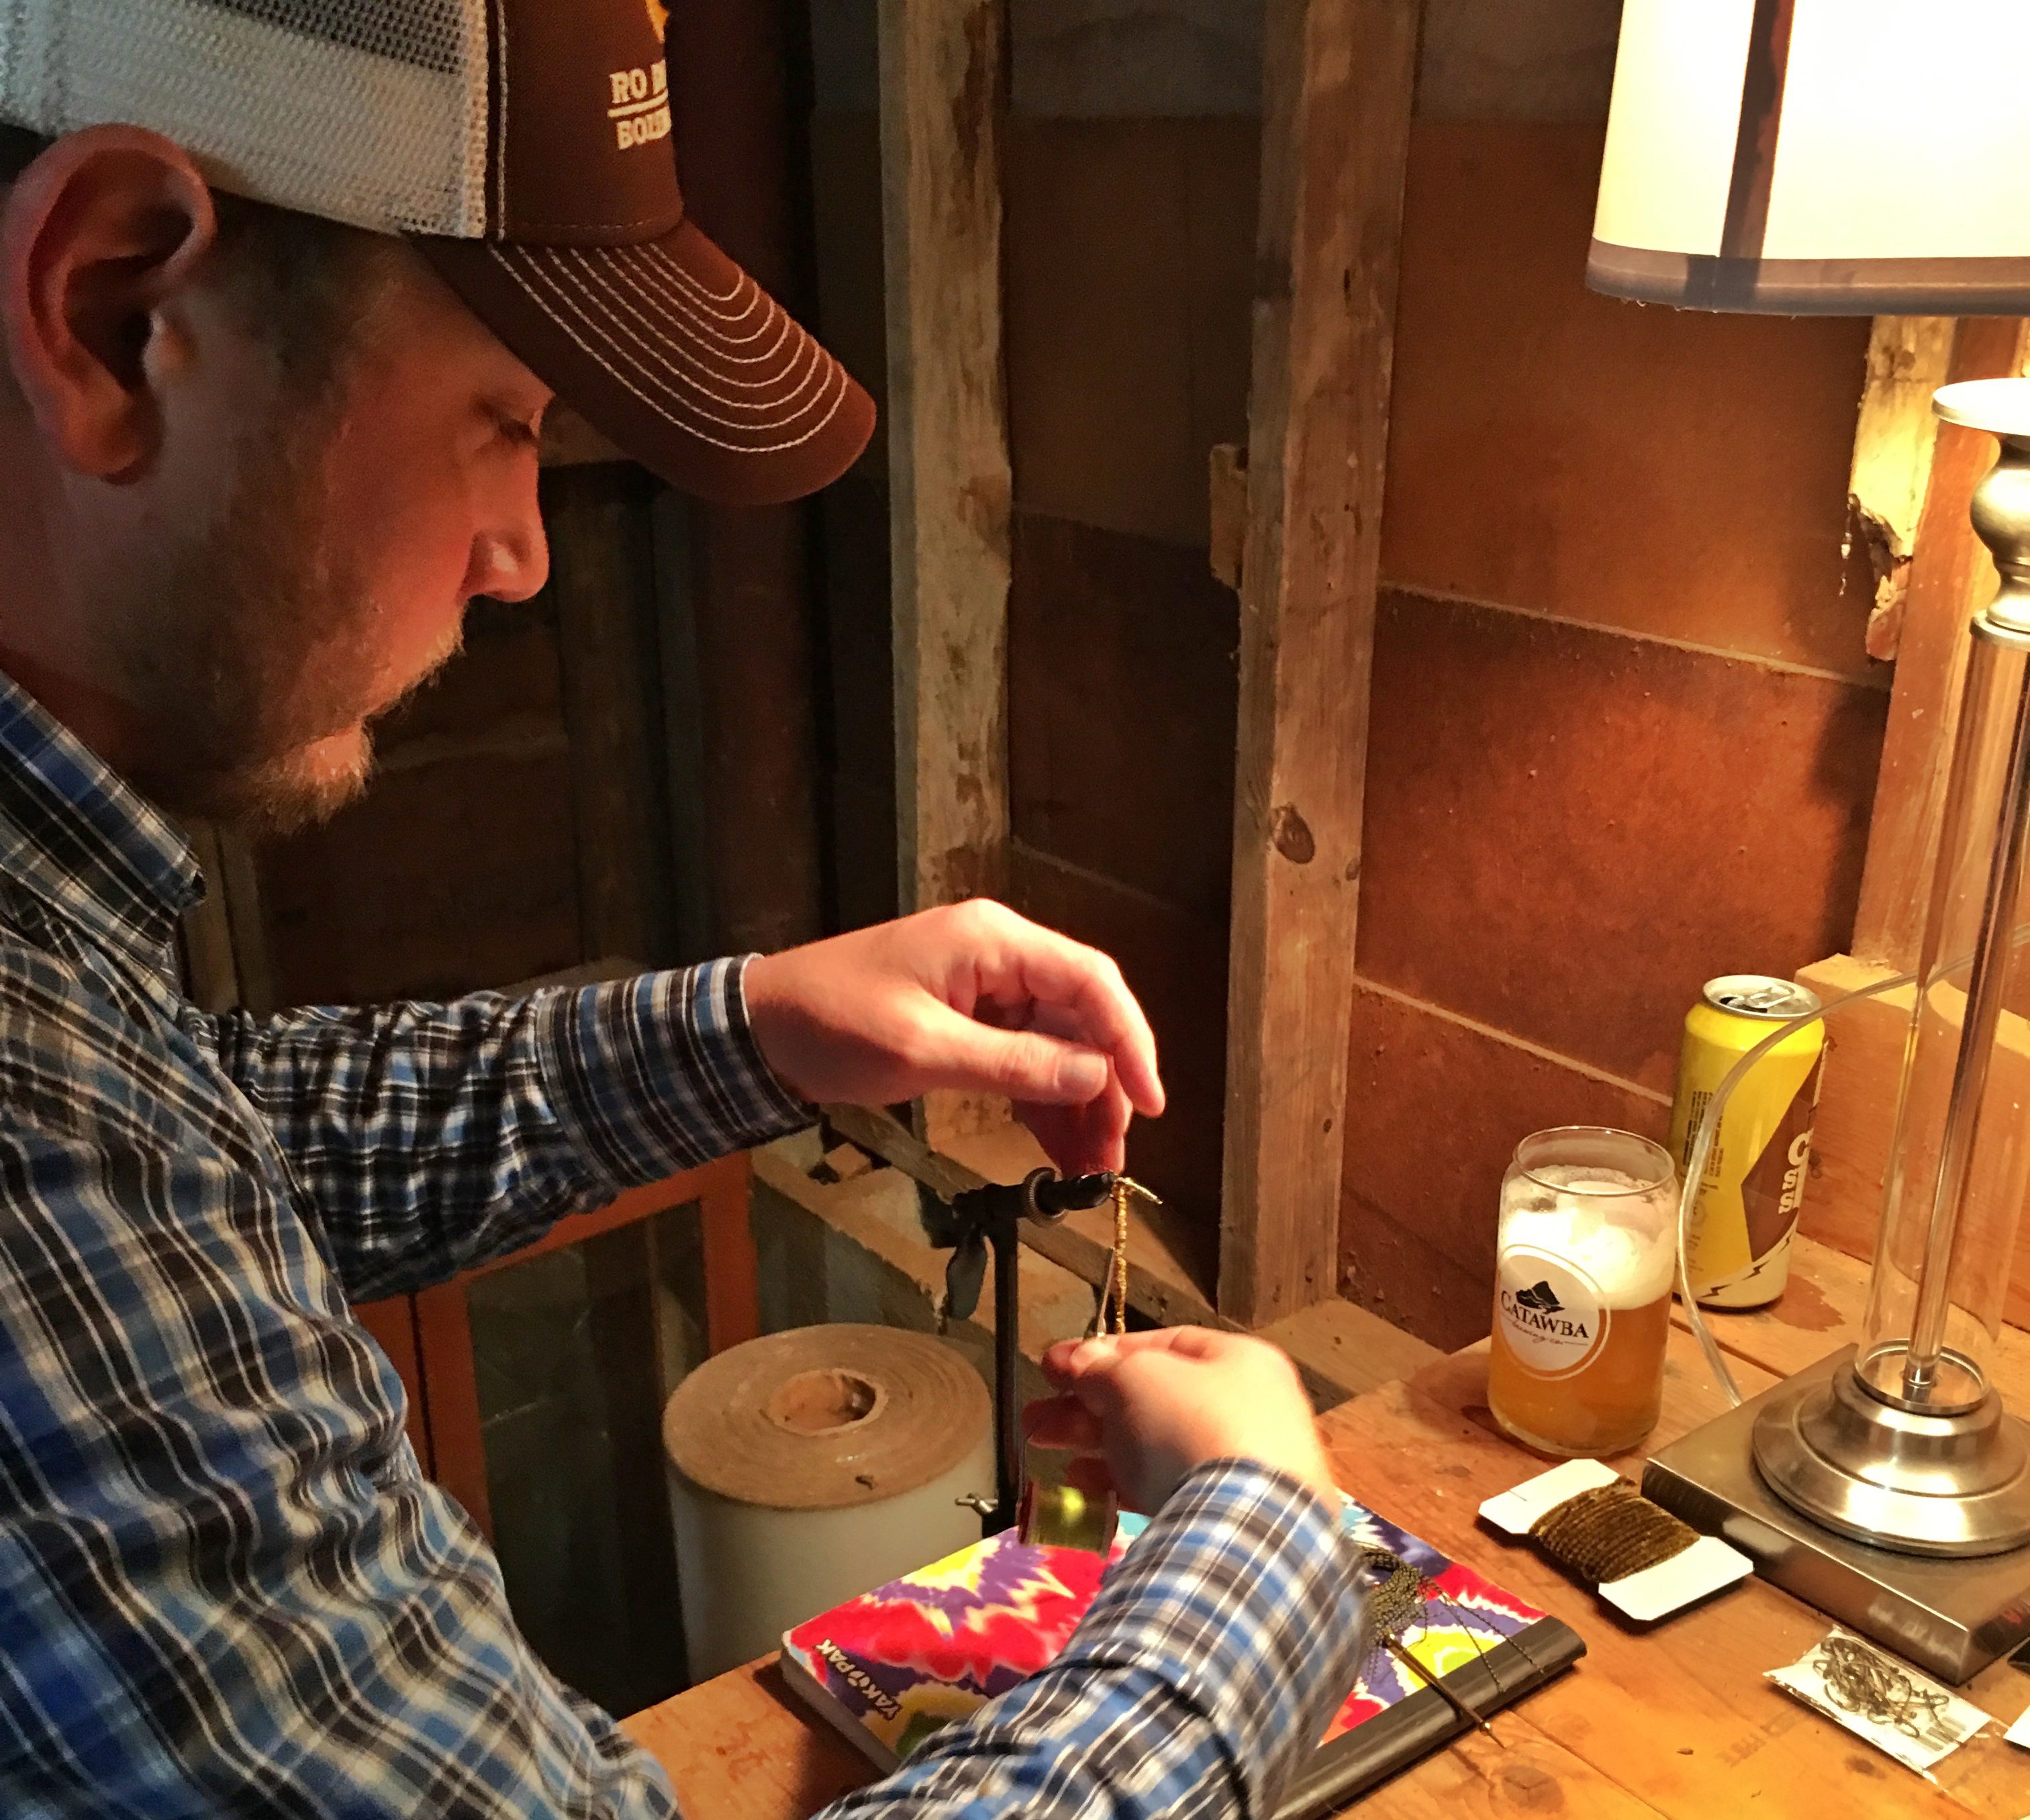
3. Utilize Fly Tying Tutorials on Youtube.
The internet is full of great fly tying resources. While most of them tend to be a little dry (beer helps with that), watching the right videos at the right time can put you on the path to becoming a proficient fly tier in no time. The videos embedded below make great starting points.
This entire series is great for those just getting started, but start with lesson one if you’re getting in at the ground level.
4. Pick a bug that you use frequently and master it.
For me it was a girlde bug or stone fly nymph. For you it may be a zebra midge, a san juan worm or a wooly bugger. Pick your favorite pattern and use that as a way to break into the fly tying game.
5. Take some time to understand these three basic techniques.
Use this video to understand three essential techniques used in the fly tying process: the jam knot, the pinch knot, and the whip finish. You’ll need to be able to execute each before you start producing your own fishable flies.
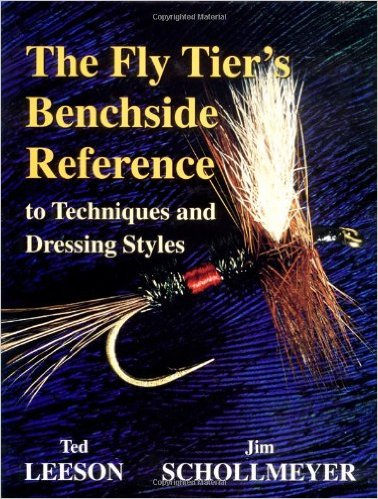
6. Read up.
You can probably find everything you need to know about basic fly tying on the internet, but valuable nuggets of hard-earned knowledge are always hiding between the covers of fly tying books. Start with this age-old standard.