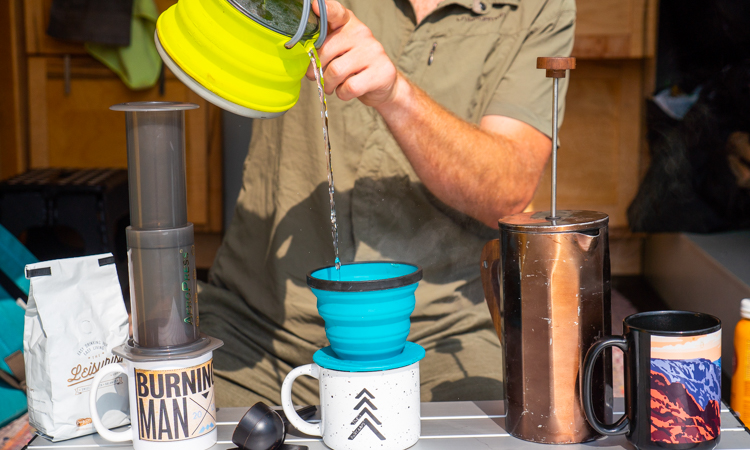
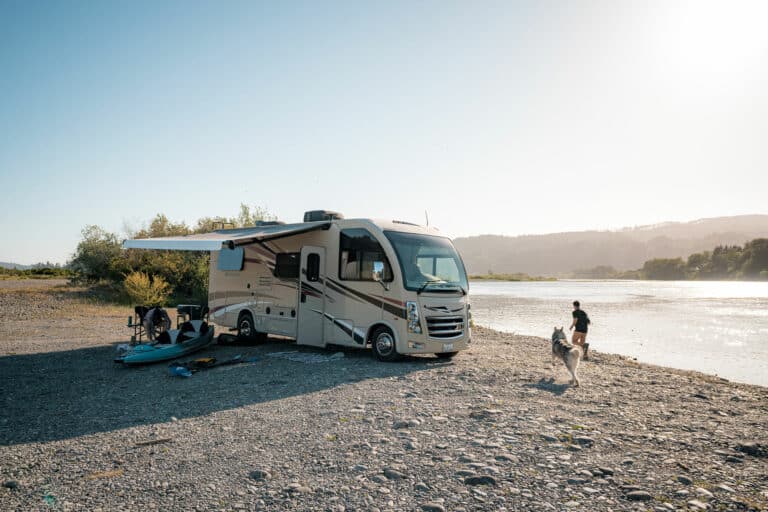
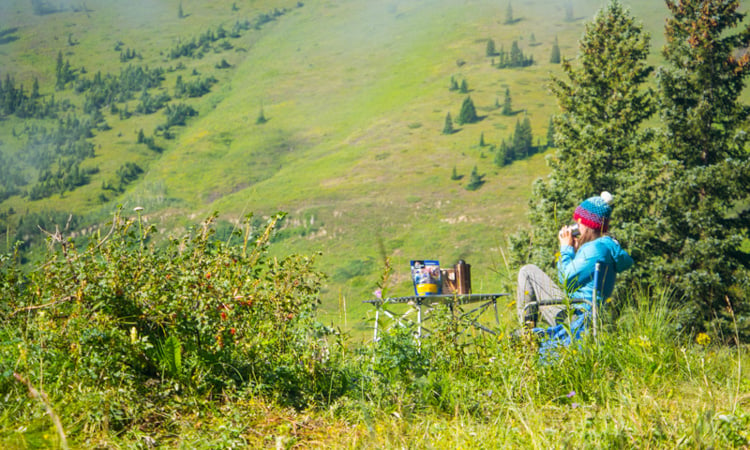
I never drank coffee in the morning. I would have a few sips, get super shaky and feel my heart beating in my ankles, and reach for green tea instead. Then I met Ben. When we met, Ben drank coffee every morning, and then some in the afternoon, and then talked about drinking it in the evening. It started with my stealing a few sips from his mug when he said it was an exceptionally good brew. Then slowly, after drinking enough sips, I was ordering mugs for myself. Today, I proudly announce, I am a full blown coffee snob. Living in a van and being a coffee snob CAN BE synonymous. There are plenty of ways to brew in the forest, but we have a few favorites. Below we put three methods to the test to see what is the ultimate off the grid coffee brewing champion.
Method 1: French Press
The French press was invented by Paolini Ugo and patented by Italian designer Attilio Calimani and Giulio Moneta in 1929. It has clearly stood the test of time, how does it stack up for brewing in the woods?
Pros:
- Easy to use and straightforward. It’s hard to really mess up this method, although I do suggest using a timer to make sure you don’t over steep your grounds.
- Makes a LOT of coffee! Necessary for groups or for Ben to get enough coffee.
- Durable. Our stainless steel French Press has been on the road for two years, and I’ve only had to wood glue the handle once.
Cons:
- Hard to clean. It leaves a lot of ground to deal with and they’re all clumped at the bottom.
- Takes up space, it’s the biggest of the three options.
- Must get coffee ground on “course” which doesn’t allow the flavor of your final product to be as complex. Trust this coffee snob.
Final Score: 7/10
Its convenience and ease of use keep the score high, but the lack of flavor and clean up time dock it a few points.
Method 2: AeroPress
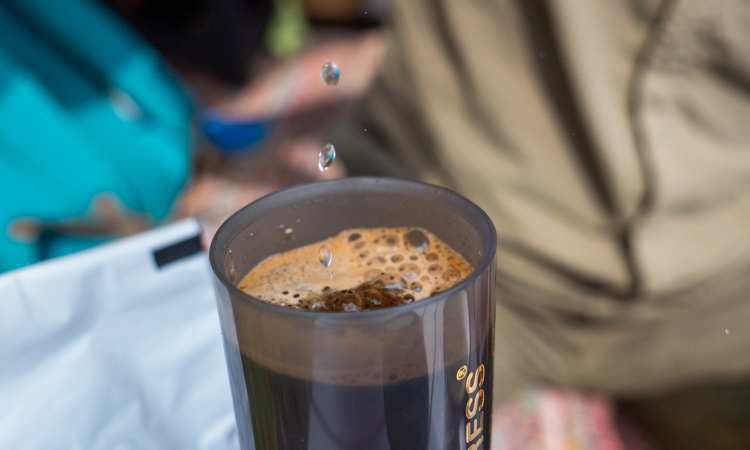
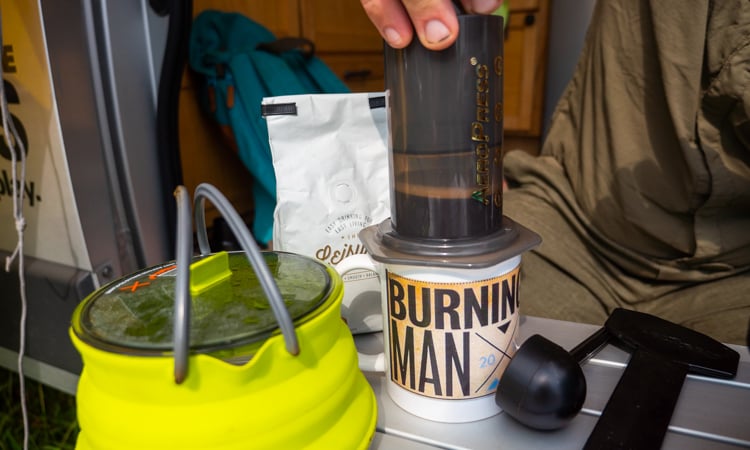
The AeroPress, the newest of the three options, was invented in 2005 by Aerobie president Alan Adler It uses a two plunger system, one with a filter at the bottom. Suction is used to create air pressure to push the water through the coffee grounds. Does the new science work?
Pros:
- It’s small! This brew method takes up far less space than a french press.
- It’s a STRONG brew. It claims to make espresso strength coffee, but we just make two cups and drink it straight. That’s some serious flavor right there!
- It’s fast. No waiting around, no timing. Pour your water and drink your coffee. BONUS: It’s easy to clean up afterward.
Cons:
- It’s all made of plastic, so if you’re weird about hot water and plastic (even though it says it’s safe), you’re going to have to come to terms before you brew.
- It’s a little complicated. There’s step by step directions, but you have to read them a few times to make sure all the parts are in the right places.
- You can only make one cup of coffee at a time.
Final Score: 8/10
The flavor is awesome, and the speed of waking up to coffee in hand in unbeatable. The plastic and amount of components bring the score down.
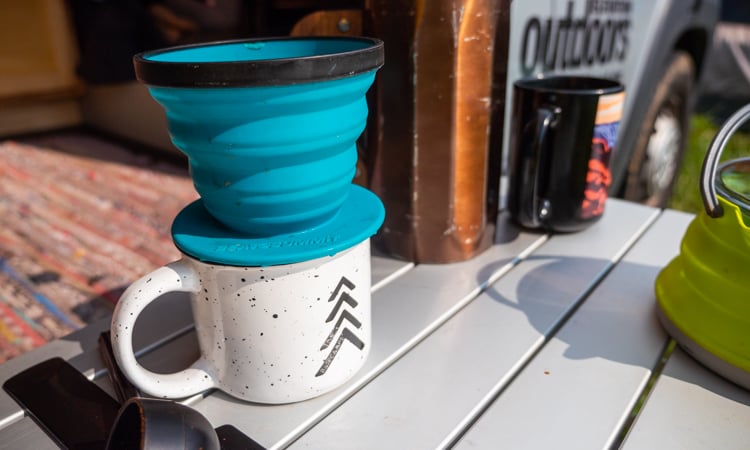
Method 3: Pour Over
Pour Over coffee can range from a fine art to caveman coffee. This is the simplest method with the least moving parts, but it can turn into a masterpiece if you know what you’re doing.
Pros:
- It’s simple, and there’s only one item you need to make it. Totally self-contained and small.
- Our Sea to Summit X-Brew is made of silicon and collapses into itself, making it a great option for backpacking.
- If you do it right, the coffee ends up flavorful and complex. A nice in-between of French press and Aeropress flavors.
Cons:
- There is a method of pouring and waiting an exact amount of time and then pouring again that brews a delicious cup. It can get a little complicated and annoying.
- You’re only making a cup at a time, and then you have to go through the whole process again.
- Coffee can come out watery if you don’t do the method correctly.
Final Score: 7/10
The simplicity of the device is wonderful, but the ease of use can get complicated if you’re trying to follow proper “pour over” technique.
Brewing Tips:
- DO use a hand grinder! Grinding your beans right before you use them will ensure freshness and flavor.
- DON’T use boiling water! It is far too hot and will burn your beans. Pour from high above so the water has some time to cool down before hitting your brew method.
- DON’T keep your coffee in the freezer. Moisture is the enemy of coffee beans and will dimish the flavor in a moist setting.
- DO warm your cup before pouring in the coffee. This may sound dumb– but it makes a difference! Just use the leftover boiling water.
- DO use high-quality water AND coffee beans. Spend a few extra dollars on the coffee and it will make an incredible difference! You’re saving a ton of money by not buying coffee out, so treat yo’self!
We are not coffee experts by any means, but two years on the road has taught us a thing or two about making coffee off the grid. Comment with any suggestions or your favorite was to make your morning brew!
There is one way for this tour to be a reality, our sponsors! Sending a thank you shout out to our title sponsor Nite Ize, and all of our other awesome sponsors that make this happen: Crazy Creek, National Geographic, Sea to Summit, Mountain House, Lowe Alpine, Old Town, Leki, HydraPak, UCO Gear and Wenzel. If you like the gear that keeps us groovin’ click here to enter for a chance to win
